
Setting up Speech Recognition
Speech Recognition is included in all versions of Microsoft Windows beginning with Windows Vista. These versions of Windows have Speech Recognition built in:
- Windows Vista
- Windows 7
- Windows 8
- Windows 8.1
- Windows 10
If you are still using Windows XP, it may be time to upgrade so you can use the speech to text capabilities of the more recent Windows operating systems.
You can use the Windows Speech Recognition system with these versions of Microsoft Word:
- Microsoft Word 2007
- Microsoft Word 2010
- Microsoft Word 2013
- Microsoft Word 2016
There are four steps you’ll need to go through to complete the setup process.
- Turn on Speech Recognition
- Set up your microphone
- Take the Speech Tutorial
- Do the voice training
Turn on Speech Recognition
By default, Speech Recognition is off until you turn it on. It can be found in the Control Panel. Follow these steps to turn it on.

- In Windows 7, click the Start Button in the lower left corner of the screen
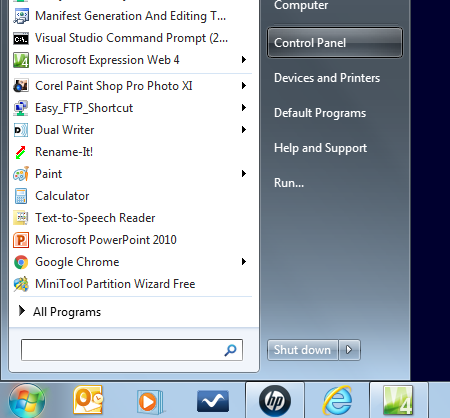
- Click the Control Panel Button in the popup menu
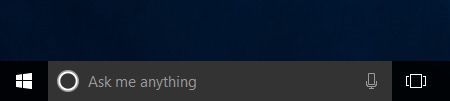
- In Windows 10, right-click the Start Button in the lower left corner of the screen
Note: Make sure to right-click the button!
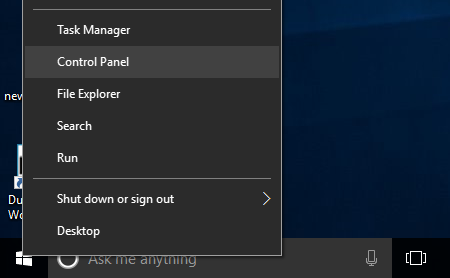
- Click the Control Panel
When the Control Panel opens:
- Click Ease of Access
- Click Speech Recognition
The Speech Recognition window opens.
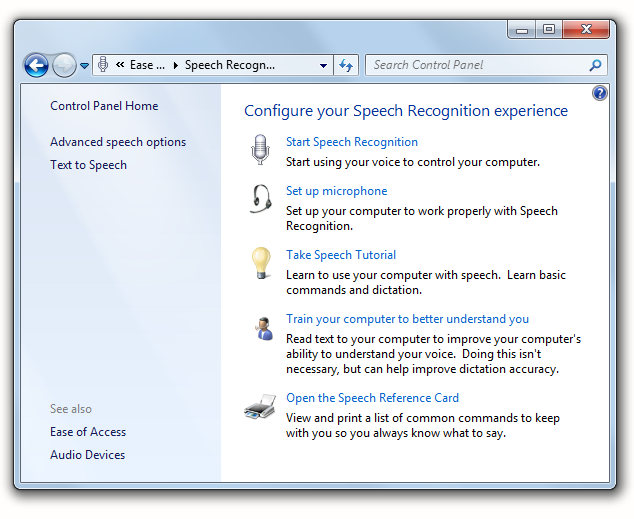
- Click the Start Speech Recognition link
Done! The first step is easy.
Set up your microphone
You’ll need a microphone to complete this step.
A good quality USB headset microphone is recommended. With a headset microphone, you’ll have both hands free, and the microphone will always be properly positioned near your mouth.
A good USB headset microphone will cost you about $30 or so. Investing in a good quality microphone will greatly improve
the accuracy of the speech recognition system and make for a better dictation experience. If you are serious about using Speech
Recognition and speech to text, a good microphone is a must!
Warning
Most notebook computers have a webcam and microphone built in. The quality of the built-in microphone is probably not good enough for dictation. It is far from your mouth and needs to be set to a high volume to hear you, making it likely to pick up noises in the environment. This can lead to random text suddenly appearing in your document when a door closes.
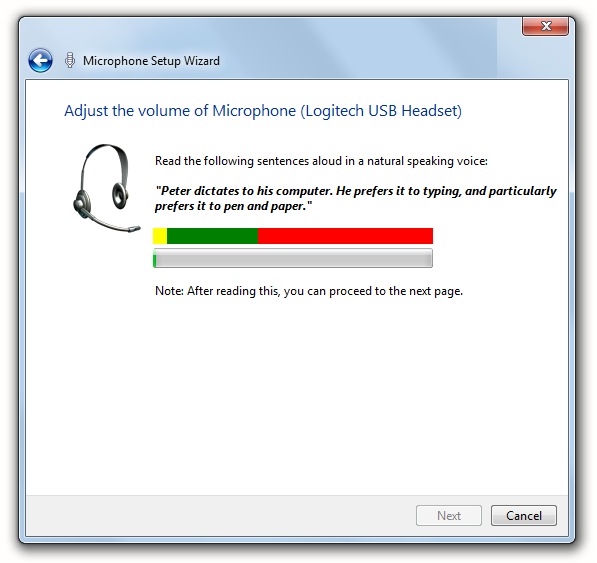
- Select your microphone from the list.
- Read the text on the screen
Tip
Don't worry about making mistakes when you read the text. Just read at your normal speaking volume.
Take the tutorial
The Speech Tutorial is available only with Windows Vista and Windows 7. Sadly, it has disappeared from Windows 8 and Windows
10.
Tip
Take the tutorial if you have it on your system. It will help you get some basic dictation practice and
you’ll learn some useful commands. On top of that, doing the tutorial helps to train the Speech Recognition System to understand
your voice.
Do the voice training
The last step, now that you have turned on Speech Recognition and set up your microphone, is to train the Speech Recognition
system to understand your voice. This is different from using speech input on your iPhone, or Cortana on Windows. Those
speech systems don’t
need to be trained. But the Speech Recognition system in Windows must be trained.
Important
You must do the training! With no training, the Speech Recognition system will not understand you at all.
Zero. The more training you do, the better the system will get.
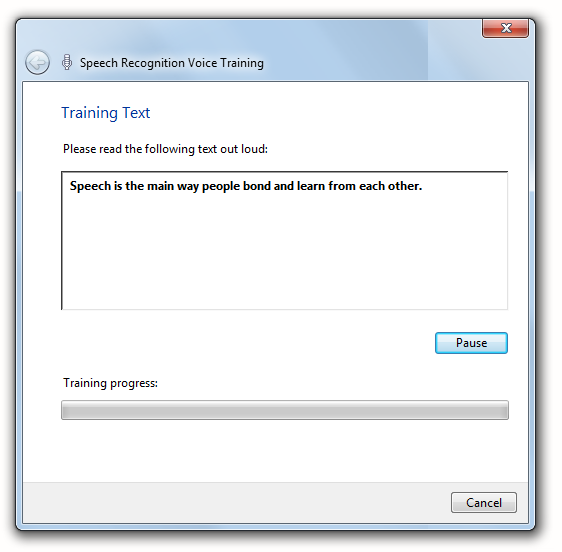
Training simply involves reading back to the computer a number of sentences that appear on the screen. The training takes
about five minutes.
Here are some tips for completing the voice training:
- Read at the speed you normally talk.
- Speak in a loud, clear voice. You don’t need to scream, but don’t be shy, either. Imagine you are speaking to someone across the room.
- Enunciate! Speak crisply, the way a newscaster does, so that each word is distinct. Try not to run your words together.
- Don’t worry about making mistakes. Just keep going.
Tip
You can always go back any time and do more training.
Now that you have finished the training, the computer has a set up audio files that contain your voice. The Speech Recognition system compares the words you dictate in Microsoft Word to words in the training files to make the best possible guess at what you are saying.
Advanced Speech Recognition Settings
Don’t worry about the Advance Speech Recognition Settings if you are just starting out. The defaults are fine for most people.
But feel free to explore. You can hurt anything, and you can always change the settings back from the defaults.
The Advanced Speech Options give you some additional control over how the Speech Recognition system behaves when you start
up your computer.
- Click the Start Button in the bottom left corner of the screen.
- Click Control Panel
- Click Ease of Access
- Click Speech Recognition
- Click Advanced Speech Options on the left side of the window
The Speech Properties window will open with Advanced Speech Options.
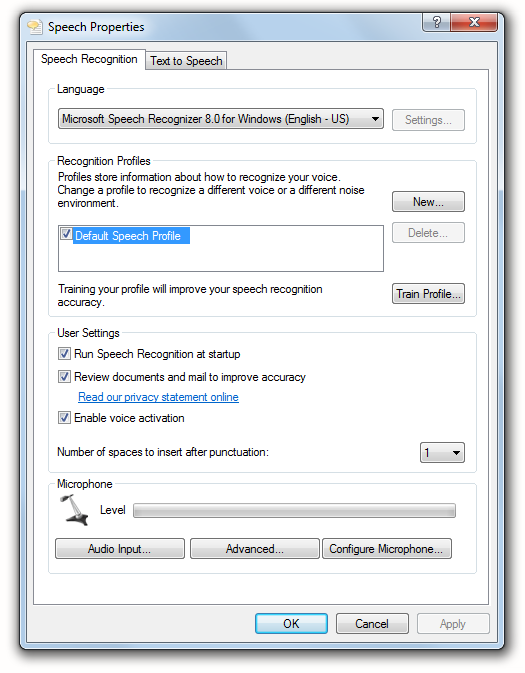
Language
Make sure that you have the language properly set correctly. It should match your system language settings or you will get error messages. For example, if you have your system language settings to Spanish, you may get an error with the Speech Recognition setting for US English. So be sure they match.
Note
If you are using Dual Writer or
Speech Tools, these programs each support US English and UK English only.
Recognition Profiles
When you set up your microphone and do the voice training, this information becomes part of the Default Speech Profile. It’s
a collection of settings for you and your voice when you use speech to text.
You probably don’t need to create an additional profile, but there are some circumstances where this will help you get better
results.
For example, say you are using a notebook or tablet computer, and you sometimes use speech to text with the built-in
microphone and sometimes use a headset microphone. The acoustics will be quite different depending on the microphone. This means
you don’t sound quite the same to the computer.
You could set up a new profile and call it Headset Profile. For the Headset
Profile, you do voice training with the headset microphones, and you switch to the Headset Profile any time you use your headset
microphone.
Important
Don’t use this feature to create a profile for a different person! You should create a new User Account for that person if you share the computer. This is because the Speech Recognition system not only learns your voice, but your vocabulary as well. Each user should set up Speech Recognition on their own User Account.
Run Speech Recognition at Startup
Check this box if you want to have the Shared Speech Recognizer launch when you start up Windows. Beside speech to text and voice commands in Microsoft Word, you can use it for launching programs and opening files.
Review documents
and mail to improve accuracy
If you check this box to activate the feature, the Speech Recognition system will work in the background to read your Microsoft Word documents and learn the vocabulary you use. Over time, this information about you will improve the accuracy of your dictation.
Tip
Turn on this feature and add Microsoft Word documents to your Documents Folder that contain vocabulary words, phrases and proper names that you write about for work or school. The system will review them, improving the chances of accurately interpreting your dictation in the future when you use those words.
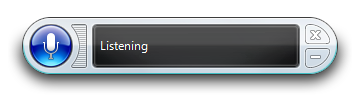
Enable Voice Activation
A nice feature of the Shared Speech Recognizer is that you can turn it on and off by saying “start listening” and “stop listening”. But this check box needs to be checked for that feature to work. When it’s not checked, you need to click it with the mouse.
Number of spaces to insert after punctuation
You can set this value to have one or two spaces follow periods when you do dictation.
Back in the typewriter days, two
spaces followed a period. Now the standard is one – for most people, but some still prefer two. Take your pick. The Speech Recognition
system doesn’t care. It will do as it’s told.